iPhone "Security Lockout"? 5 Proven Fixes Here!
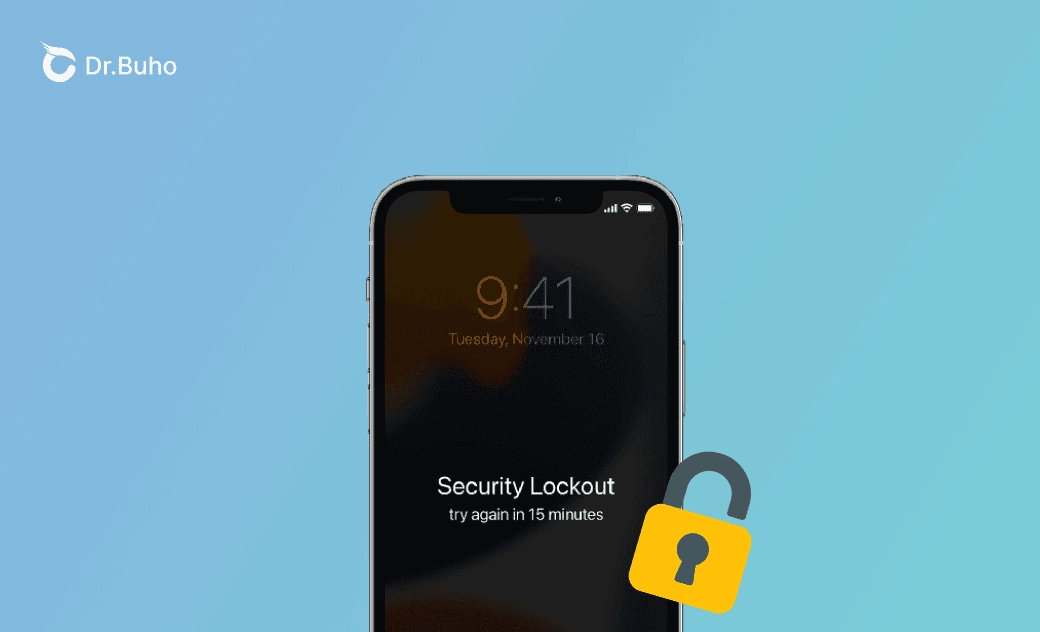
Are you trying to unlock your iPhone but keep failing, only to be met with the "Security Lockout" message? You may be wondering what the message means and how to get your iPhone out of the locked mode.
This guide will explain the meaning of "Security Lockout" on iPhone and provide various methods to fix it.
What Does "Security Lockout" Mean on iPhone?
Security Lockout is a security feature in iOS 15.2 and later versions. It appears after the "iPhone Unavailable" message if incorrect passcode attempts continue. Apple designed it to help you erase and unlock your iPhone without a computer or iTunes.
How to Unlock Your iPhone if It Says "Security Lockout"
Don't worry if you see the Security Lockout message on your iPhone. Try the methods below to unlock your iPhone.
Method 1. Wait for the Timer to Expire
The "Security Lockout" message may last for several hours. To disable it, you can wait for the timer to expire and then enter the correct iPhone passcode.
Method 2. Via "Erase iPhone"
If the timer on the "Security Lockout" screen isn't counting down, use the Erase iPhone option to reset your iPhone directly from the screen.
Before you proceed, make sure the following conditions are met.
- Your iPhone is running iOS 15.2 or later.
- Your iPhone is connected to a cellular or Wi-Fi network.
- You know the Apple ID and password associated with your iPhone.
Here’s how to unlock your iPhone:
- Tap Erase iPhone at the bottom of the Security Lockout screen.
- Tap Erase iPhone again to confirm your action.
- When prompted, enter your Apple ID password to sign out of your Apple ID.
- Tap Erase iPhone to permanently delete all content and settings from your iPhone.
- Once the process is complete, set up your iPhone and restore your data via iCloud, iTunes, or other backup methods.
Method 3. Via iCloud
If the "Erase iPhone" is unavailable, then you can fix the "Security Lockout" error using iCloud.
Here’s how:
- Go to https://www.icloud.com/find.
- Sign in to iCloud with your Apple ID and password.
- Tap All Devices and select the iPhone that is in security lockout.
- Tap Erase This Device, enter your Apple ID password, and follow the onscreen instructions to delete all iPhone content.
- When your iPhone restarts, set it up.
- Select the iPhone you want to reset and tap Erase iPhone.
- Follow the onscreen instructions to enter your Apple ID password and all data on your iPhone will be deleted.
Method 4. Via BuhoUnlocker
Another way to unlock your iPhone in security lockout is to use BuhoUnlocker, an easy-to-use iOS unlocking tool developed by Dr.Buho.
This method works if you don't know anything about iOS skills and all you want to do is follow the step-by-step instructions.
Here's how to unlock your iPhone with BuhoUnlocker:
- Download and install BuhoUnlocker on your computer (PC or Mac).
- Launch it and click Unlock Screen Passcode.
- Click Unlock Now.
- Connect your iPhone to your computer using a USB cable and put it into recovery mode.
- Download the firmware for your iPhone, click Unlock Now, and wait for the unlocking process to complete.
- When you see the hello screen on your iPhone, set up your iPhone.
Method 5. Via Finder/iTunes
If none of the above methods work for you, you can unlock your iPhone using iTunes or Finder (on macOS Catalina and later).
Here’s how:
Turn off your iPhone.
Connect your iPhone to your computer via a cable, then press the corresponding button to put your iPhone into recovery mode.
- iPhone 8, iPhone 8 Plus, iPhone X and successors, iPhone SE (2nd and 3rd generation): Use the Side button.
- Phone 7 and iPhone 7 Plus: Use the Volume Down button.
- Phone SE (1st generation), iPhone 6s, and earlier models: Use the Home button.
Continue to hold the button until the Recovery Mode screen appears on your iPhone.
Open Finder or iTunes on your computer and locate your iPhone.
You will see Restore and Update options. Select the Restore option. Then, the computer will automatically begin downloading the software for the iPhone and start the recovery process. (The download process takes about 15 minutes.)
Once the recovery process is complete, unplug the cable from the computer and reset your iPhone.
By following the methods outlined in this guide, you should have successfully unlocked the "Security Lockout" screen and can now use your iPhone normally.
It's worth mentioning that all these methods will delete content and settings from your iPhone. If you had previously backed up your iPhone, after setting it up again, you can easily restore files from your backup.
Jerome is a passionate enthusiast of all things Apple. He is expertise in crafting tech-related articles, with a portfolio of more than 100 articles covering various Apple products like the iPhone, iPad, and Mac.
